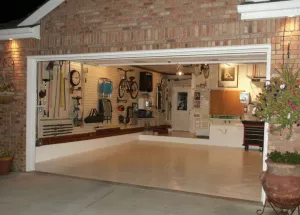
If you’ve got the time and the patience, painting the inside of your garage is a piece of cake. You just need to ensure you’re well-prepared before you start.
Follow our helpful tips and your garage makeover will be completed in no time!
1. Clean, clean, clean
Whatever you’re painting, you always need to clean first. So first, remove all the items from your garage, you should organize with a friend or family member for their storage while you’re working on your project. If you don’t know anyone with any room in their garage, rent a storage unit.
Go about cleaning the walls and ceiling just as you would in the home. You’re also going to need to clean the floor. You can either buy a commercial cleaning product or make your own floor cleaner (3 parts water to 1 part bleach). You may need to use detergent on any stubborn stains (oil, gas, etc.).
2. Once the surfaces are clean, get them ready for painting!
This means filling in any holes or cracks in your walls, ceiling and floor. For walls and ceilings, you’ll need to use a heavy-duty drywall compound. The walls are easy enough to do, just do as you would do in the house.
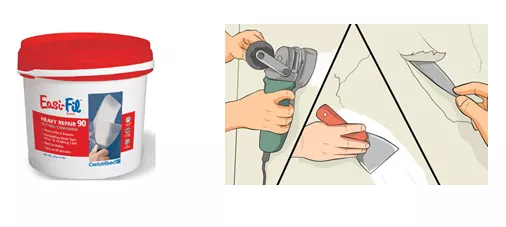
The floor is a little bit more complicated, you’ll need a patching compound, and if it’s not adhering to the floor very well, you may need to use a grinder. Once the patching compound is dry, pass over the entire surface with a polisher to even it out. Then, if the floor is covered in unsightly stains, you might want to use a resurfacer product.
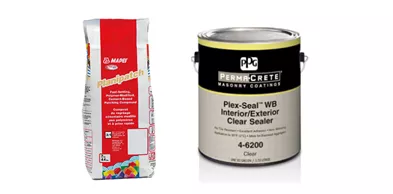
Once the surfaces are prepared, wait 24 hours before starting to paint.
3. Start painting the walls and the ceiling
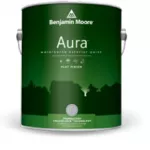
You can use either a latex (water-based) or alkyd (oil-based) paint. 10 years ago, we would have recommended alkyd paints, but nowadays water-based paints are such a high-quality that they’re even ideal for garage interiors! One thing to keep in mind when you’re shopping is how often you want to repaint the garage. Chances are you’re not planning on doing it every few years, so make sure you don’t go for the cheapest paint on the market.
Ideally, you want to go for a light colour that will make the garage look larger and brighter. While white is a good choice for the ceilings, choosing an off-white colour for the walls will go a long way to disguising marks and stains
.
4. Start painting the floor
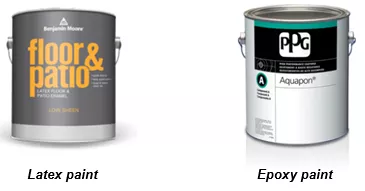
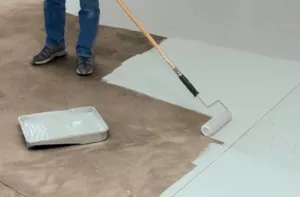
When the surface is completely dry you can start painting. We recommend using a latex paint (100% acrylic with polyurethane) with a satin-finish. Latex paints are the most economical option and the least complicated. If you need to apply a second coat, wait at least 24 hours.
The other option is epoxy paint. More expensive and more time-consuming to apply, but great results. Epoxy dries quickly (45 mins) and needs a catalyst, so we suggest dividing the floor into smaller, more manageable sections and only use as much product as you need for each section.
Wait at least 24 hours before walking on the floor and at least 4 days before parking on it.
Like we said, it’s time-consuming. So, if you don’t have the time or the patience you might want to think about hiring a professional garage decorator or a professional specialized in concrete floors.
Now that the interior has had a makeover, what about your garage door?
It’s all well and good giving your garage a makeover, but if you’ve got an old, battered garage door with flaking paint, your masterpiece isn’t going to look that great!
If you’re thinking about replacing your garage door with a new, well-insulated model, or if your current door needs a tune‑up, contact us at 1-877-545-3667, or request a quote online.
As garage door experts, we’re the best people to advise you and help you make a well-calculated choice based on your needs, taste and budget. We can even send someone out to your home to help you in person.
If you’re in the market for a new garage door, look through our image gallery for inspiration or try out our Design Centre tool where you can “try on” a garage door and see which style is the best fit for your home.

Add new comment